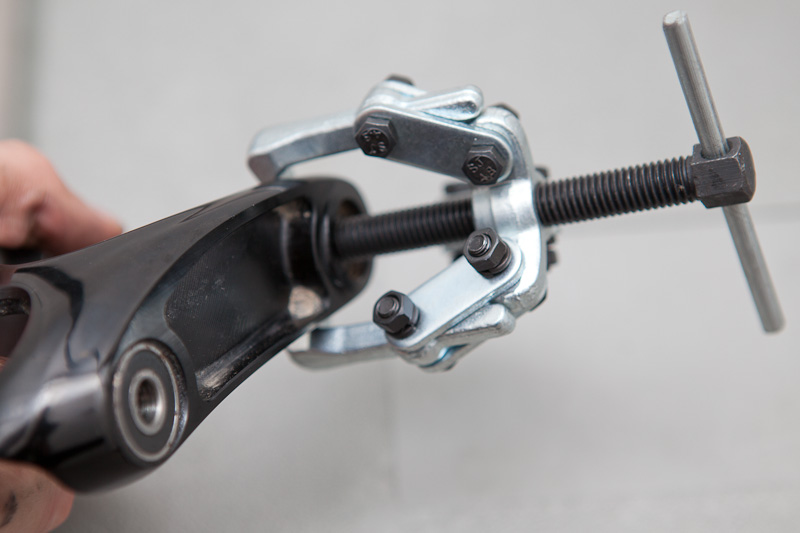
Frame bearings are the part of your bike that is really easy to forget about and neglect the maintenance. Especially when there are no signs of creaking and your bike appears to behave normally. I did the same, forgot about them on my Ibis Mojo HD for about year and a half, until I checked them during another service job. I found that almost all bearings had dirt instead of lube in them, they moved far from easy and two bearings in the lower link were completely seized. It was time to replace them.
What do you need to replace frame bearings?
Changing frame bearings isn't that complicated, but you should feel comfortable disassembling your bike. You will have to remove your chainguide (if you have one) together with your cranks, rear shock and also remove the upper and lower frame link (bearing are pressed into them). If you haven't done any of this before, it's a good idea to have somebody experienced with you, or leave it to your LBS.
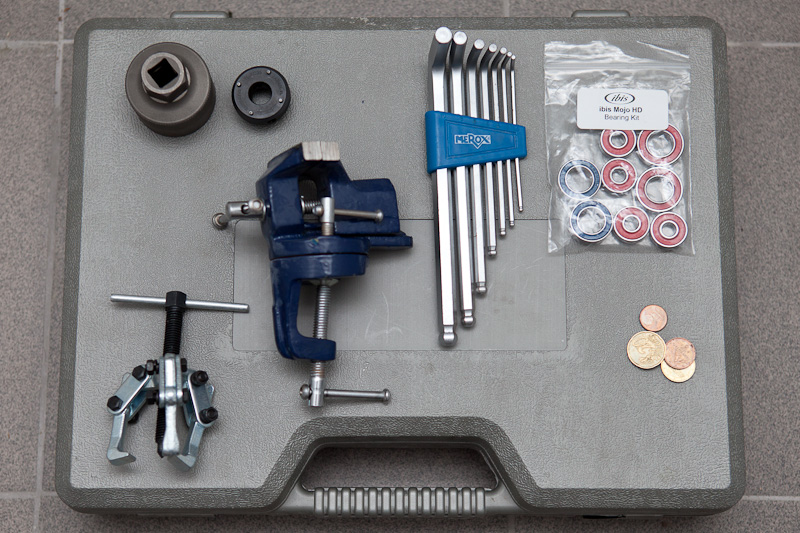
Minimum tools required to do this job are: bottom bracket wrench (if you have a chainguide), a crank removal tool
, a set of allen keys
, a bearing puller
, a vise
, set of new Ibis Mojo HD frame bearings, a hammer and some coins or washers.
If you don't want to buy bearings directly from Ibis, you can check out your local hardware shop for bearings with these specs: (ID = inner diameter, OD = outer diameter, W = width)
Mojo HD Lower Link
- Front: 15 ID x 26 OD x 10 W Dual Row Angular Contact (Enduro DR 1526 RS) 2 pieces
- Rear: 15 ID x 28 OD x 7 W (Enduro P/N 6902 2RS) 2 pieces
Mojo HD Upper Link
608 2RS 8 ID x 22 OD x 7 W (Enduro P/N 608 2RS MAX) 4 pieces
1. Remove the cranks
Remove your cranks, so you can access the bolts holding the lower link. This procedure varies based on the model of your cranks. If you're not sure hot to do it, check your cranks owner's manual. If you have a chainguide installed, you will have to remove the bottom bracket cup to remove it.
2. Remove the shock
Whole process of removing the upper frame link is much easier, if you completely remove your shock first. Remove the bolt going through the rear eye of the rear shock. Next, remove the 2 bolts in the middle of the limbo chips. If you have trouble to remove the shock, you can remove one limbo chip. After that, the shock should go out without any problems.
3. Remove the upper link from the frame
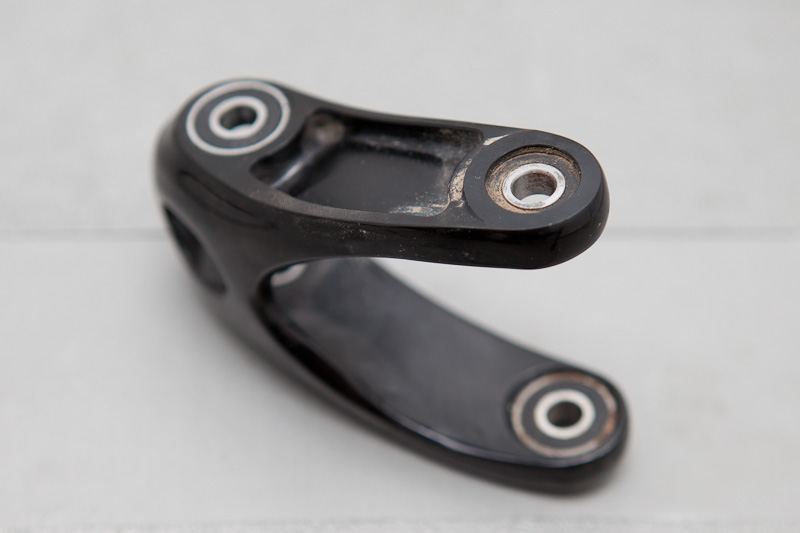
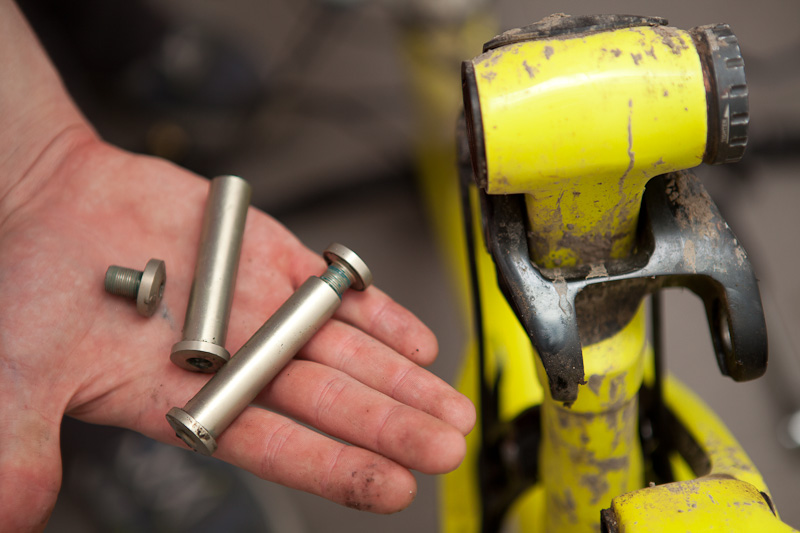
With your shock and all the bolts from the upper link removed, you can compress the frame all the way as the suspension would normally do and remove the upper link from the frame. It can be little bit fiddly, but be patient and watch your fingers. You can see the removed upper link in the image above.
4. Remove old bearings from the upper link
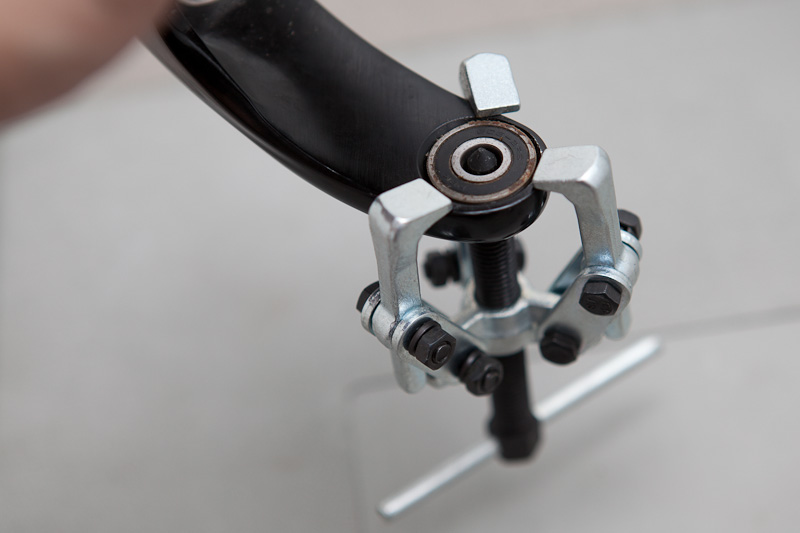
Set your bearing puller as shown above. Make sure that puller hooks don't interfere with the bearing itself (otherwise it wouldn't push the bearing out).

Start tightening the puller threaded rod. The bearing will be slowly pushed out of the upper link.
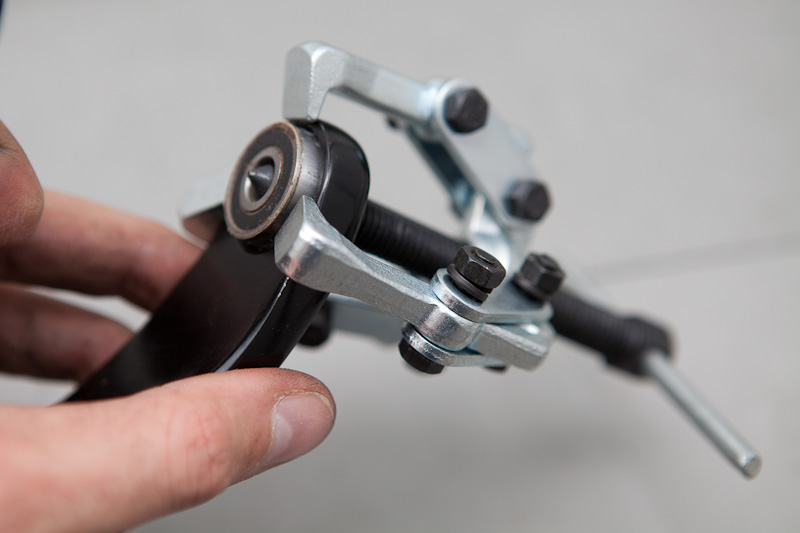
Removing the bearing should be quite smooth. If you feel that excessive strength is needed to proceed, recheck if everything is properly aligned before going Hulk style on it. Repeat for both sides.
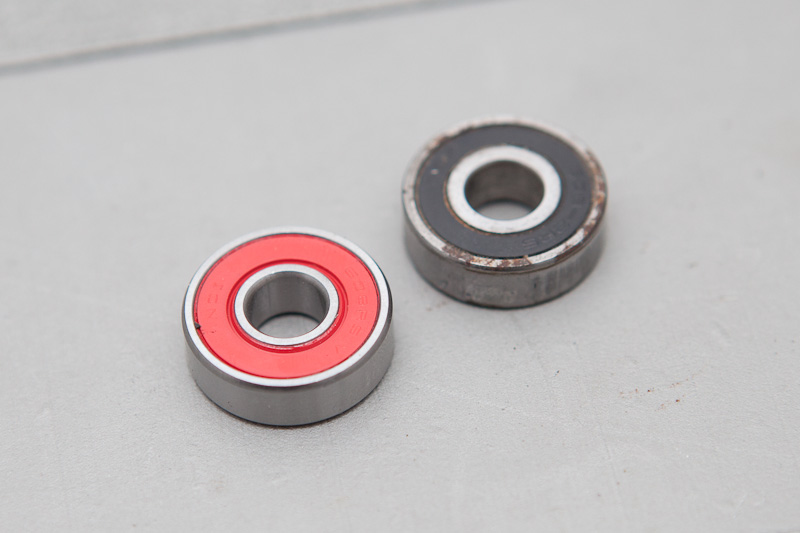
Old bearing removed and new one waiting to be pressed in.
Bearing on the other side can be little trickier to get out as there isn't enough space to use the puller. You can use 6mm allen key or something similar and push it through one side. Place a coin or similarly sized washer on the inner side of the other bearing and press the allen key against it. One or two good hammer strikes will get the bearing out. Rinse and repeat for the other side.

5. Press in the new bearings
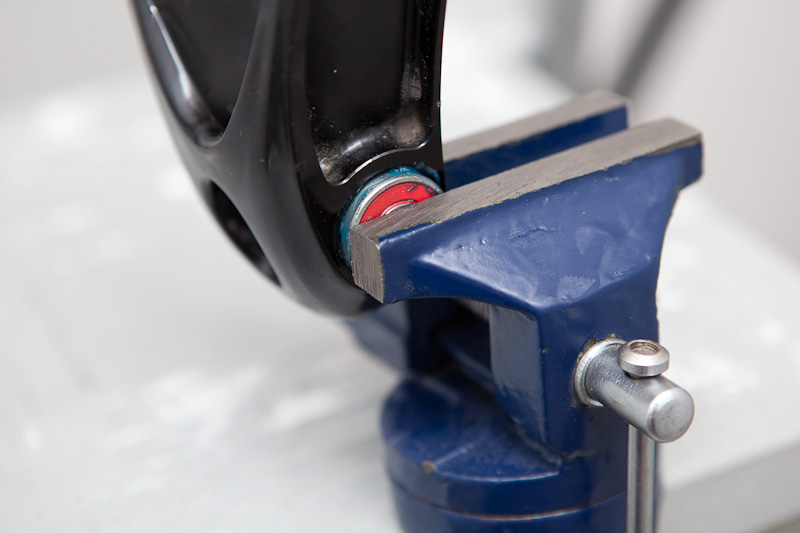
All 4 upper link bearing are the same size. Apply small amount of grease on the outer wall of the bearing. This won't lubricate any moving parts, but will make the bearing insertion little bit easier and it will also keep the moisture out (you can see the rust on the old bearings). Align the bearing precisely against the upper link bearing slot and insert it into a vise. Double check the alignment and start tightening the vise. Bearing should go in reasonably smooth, so again, if it requires too much force, double check the alignment. Unfortunately, vise can't directly press the bearing far enough because of the grooves on the sides of the link. You can use the old bearing as a washer and put it into vise to push further. If you have bad luck putting it in place with vise, you can use hammer and washers style to get it in. After pushing all 4 bearings in, you should end up with this:
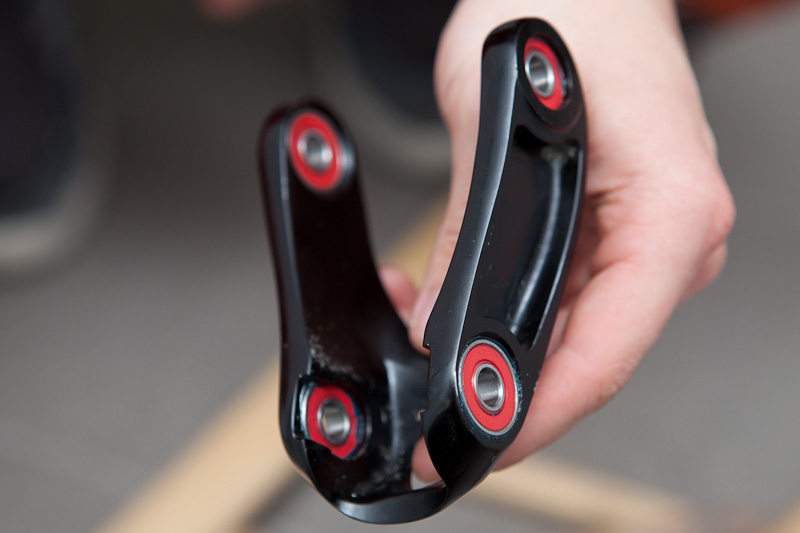
6. Remove the lower link from the frame
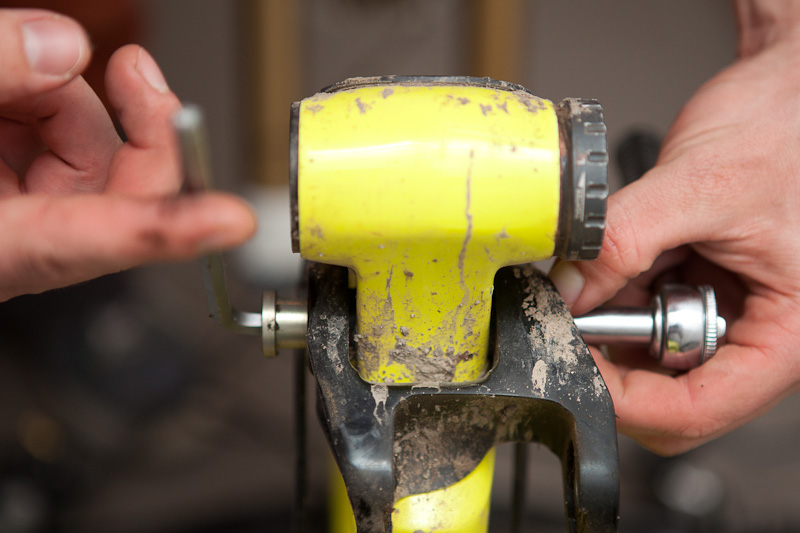
Remove 2 big bolts connetcting the lower link to the front and rear triangle. You have to use two 6mm allen keys, one from each side to loosen it.
7. Remove bearings from the lower link
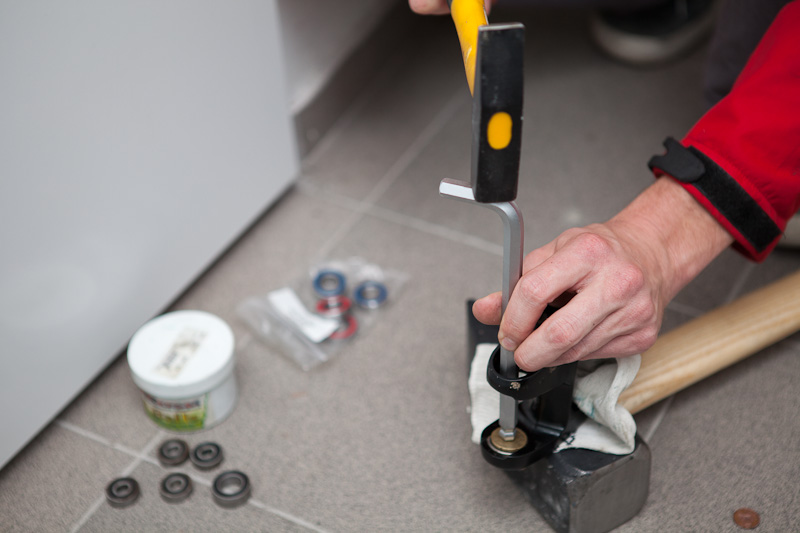
Lower link has bearing puller unfriendly shape as the bearings are pressed in from the outer side. It proved easier to remove the bearings by knocking them out by a hammer, same as from the other side of the upper link.

8. Press new bearings into lower link
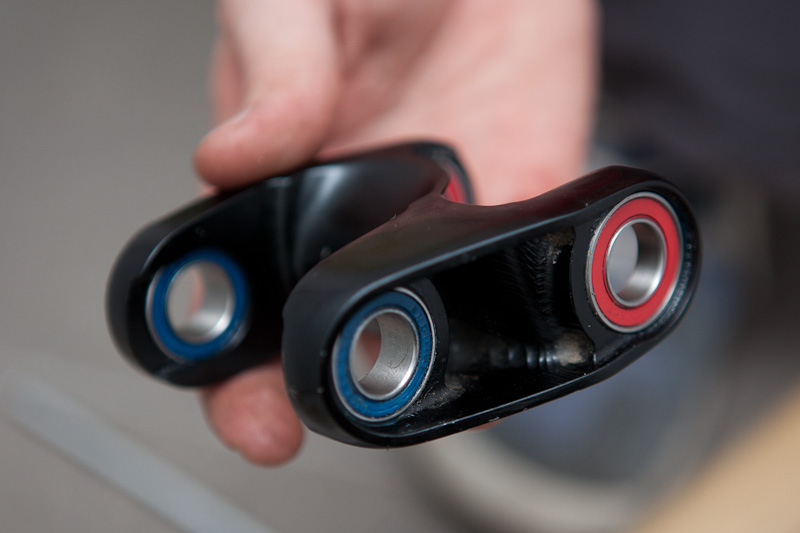
Repeat the same procedure with a vie for the lower link. When you get one side installed, you can use the lower link bolt to pull the bearings into the lower link (again, double check proper alignment and use apropriate force).
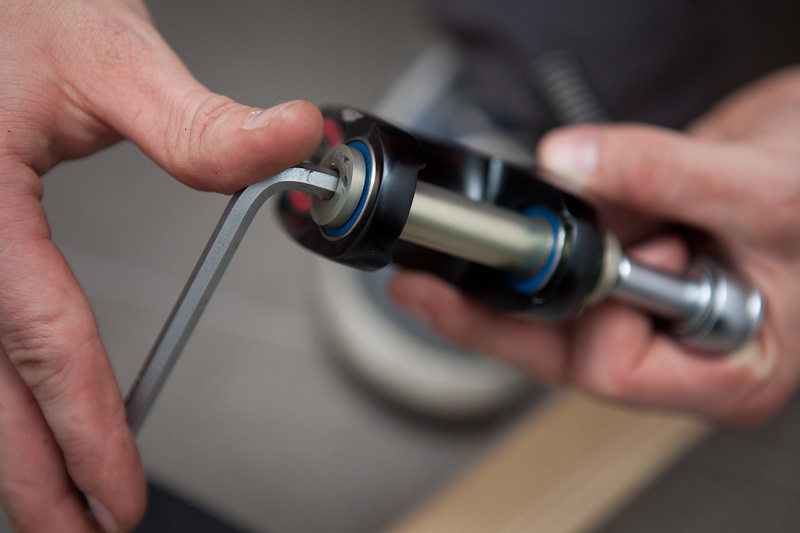
You should end up with something like this
9. Reassemble
With new bearing installed, you can reassemble lower and upper link (in that order). After, you can reinstall your shock and cranks. Don't forget to clean and lube everything.
I couldn't believe the difference on the first ride after the service. All creaking is gone, the bike feels like new again and small bump sensitivity improved as well (no wonder when 2 bearing were seized..). I should have replaced them long time ago, don't wait with yours.


Hi, you do know that Ibis wanted to get rid of this hassle and you buy new links instead? Not much more expensive than new bearing sets for other bikes.
But, if you want to change, great write up. I have the first Carbon Mojo which I enjoy a lot, fox talas 36 160 at the front.
Thanks for the info. Just a quick couple of pointers for anybody attempting this:
1. Bearings should be pressed in by their outer race, If you press by the inner race you can damage them by denting the bearing surface with the ball bearings inside.
2. The front lower link bearings are angular contact and as such have a direction you need to follow – the bearing supplier will advise you.
I also place my bearings in the freezer over night. Allows them to shrink a small fraction.